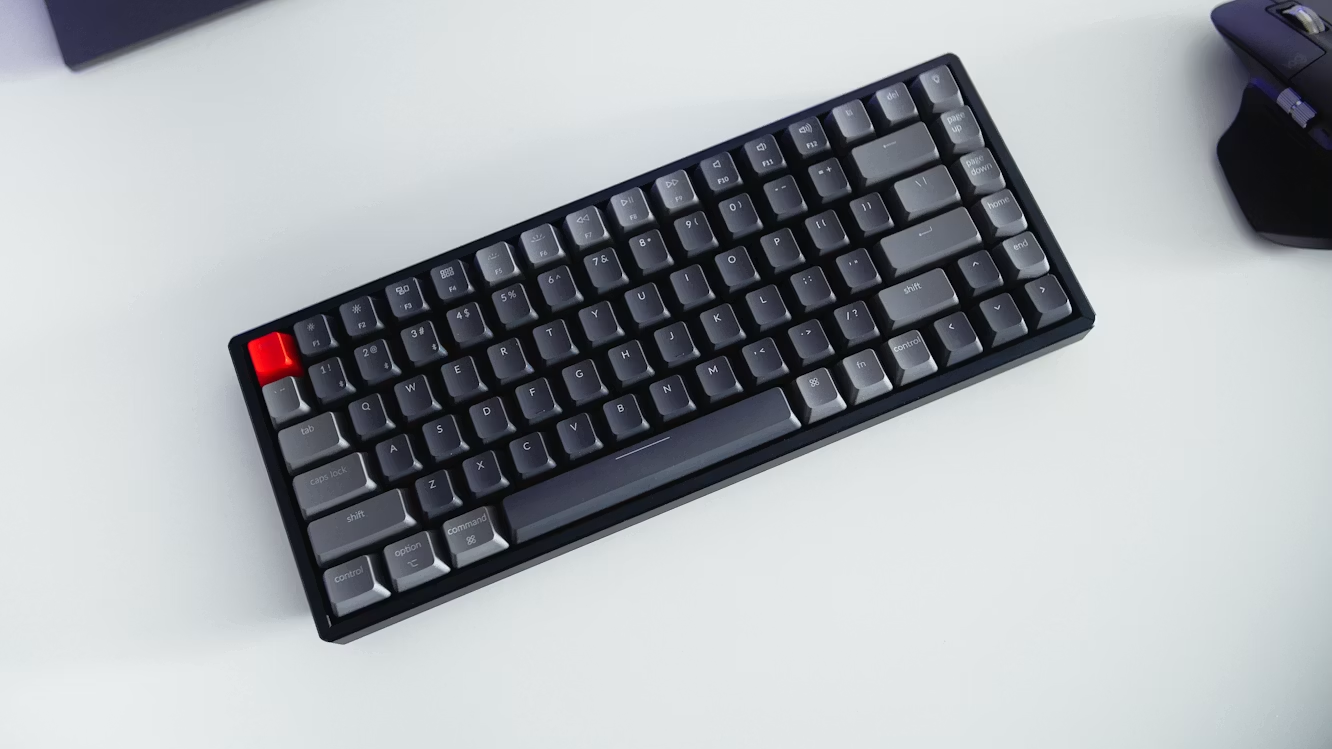

Glass desks are highly popular for their sleek, modern aesthetic, minimalist design, and ability to make a small home office feel open and airy. However, from an ergonomic standpoint, glass desktops present a major challenge. Most glass desks do not have built-in keyboard drawers, forcing you to place your keyboard and mouse directly on top of the glass.
This layout raises your wrists too high, leading to shoulder tension, neck fatigue, and wrist strain. If you want to improve your posture without replacing your beautiful desk, learning how to mount a keyboard tray glass desk setup safely is the ultimate solution.
The primary concern when working with glass is structural integrity. Tempered glass is incredibly strong when carrying evenly distributed weight, but it is highly vulnerable to localized pressure, vibrations, and drilling. If you attempt to drill holes or apply excessive clamping force, the entire desktop can instantly shatter into thousands of tiny pieces.
According to workplace safety standards outlined in the guidelines, maintaining a neutral joint position is critical for typing comfort. Fortunately, you can achieve this on glass using non-invasive mounting methods. Let’s explore the 5 best, completely safe DIY strategies to attach a keyboard tray to your glass desk and optimize your laptop ergonomics guide setup.
1. The Heavy-Duty C-Clamp System for a Keyboard Tray Glass Desk
The easiest and most reliable way to attach an aftermarket keyboard tray to a glass desk is using a clamp-on model. Many ergonomic manufacturers design keyboard trays specifically with C-clamps that slide over the front edge of the desk.
To protect the glass, you must choose a clamp that features thick, pre-installed rubber or foam padding on both the top and bottom plates. The padding distributes the clamping pressure evenly and prevents direct metal-on-glass contact. When installing, tighten the clamps slowly by hand until the tray is secure. Never use tools to over-tighten, as excessive torque will crack tempered glass. Regularly check the clamps every few weeks to ensure they haven’t slipped.
2. Using Adhesive Spacer Plates
If your glass desk has a metal frame running directly beneath the perimeter of the glass, a standard C-clamp might not fit over both the glass and the metal bar. In this scenario, you can use adhesive steel spacer plates.
Clean the underside of the glass thoroughly with rubbing alcohol. Apply a high-strength double-sided structural adhesive tape (such as 3M VHB tape) to the spacer plates, and press them firmly against the underside of the glass behind the metal frame. You can then clamp the keyboard tray directly to these steel plates, bypassing the metal frame altogether without placing stress on the glass edge. Let the adhesive cure for a full 24 hours before applying any weight to the tray.
3. Mounting to the Under-Desk Metal Frame
Many glass desks are constructed with a tempered glass top resting on top of a steel or aluminum support frame. If your desk has this design, you should avoid attaching anything directly to the glass. Instead, look for a keyboard tray that can be mounted directly to the metal support beams.
You can use self-tapping metal screws or brackets to secure the sliding tracks of the tray to the steel frame. This completely isolates the keyboard tray’s weight and the pressure of your typing from the glass, ensuring 100% safety and zero risk of shattering. If the metal beams are thin, you can add wooden spacer blocks between the frame and the tray tracks to ensure stability.
4. The Standalone Desk Converter Option
If you are nervous about clamping or gluing anything to your glass desktop, a standalone desktop converter is a fantastic alternative. These converters sit on top of the glass and feature a raised platform for your monitor and a lower, suspended tier for your keyboard and mouse.
Because the weight is distributed across wide, rubber-footed bases on top of the desk, there is no concentrated pressure on the edges. Ensure the converter is rated for glass desks and that you do not exceed the manufacturer’s weight limit. This setup also allows you to switch between sitting and standing, adding an active element to your daily routine.
5. Custom DIY Wooden Underframe
For a highly secure and custom look, you can build a simple wooden support frame that sits beneath the glass. Cut a piece of high-quality plywood or hardwood to match the exact interior dimensions of your desk’s metal support frame.
Secure the wood to the metal frame using brackets. Once the wooden base is locked in place, you can screw a traditional, heavy-duty under-desk keyboard track directly into the wood. The glass top simply rests on top of the metal frame as usual, completely insulated from the mechanical movements of the tray below. This method is incredibly sturdy and allows you to use wider, more custom trays.
6. Checking Glass Thickness and Tempering Markings
Before installing any heavy clamp-on accessories, check the specifications of your glass desk. Most computer glass desks are made of tempered safety glass, which is 4 to 5 times stronger than standard annealed glass.
Look for a small etched “Tempered” logo in one of the corners. Additionally, measure the thickness of the glass desktop. You should avoid clamping keyboard trays to glass that is less than 6mm (0.24 inches) thick. Thin decorative glass coffee tables should never be converted into workstations, as they lack the load-bearing capacity to support the constant pressure and vibration of typing.
7. Ergonomic Placement Rules for Your New Tray
Once your keyboard tray is safely mounted, adjust it to match proper ergonomic guidelines. The tray should be set at a height where your shoulders are relaxed, your elbows are bent at a 90-degree angle, and your wrists remain straight while typing.
If the tray is too low, you will slouch; if it is too high, you will shrug your shoulders. The tray should also have enough depth to accommodate both your keyboard and mouse on the same level, preventing you from reaching upward to use the mouse, which causes shoulder muscle imbalances.
8. Preventing Vibrations and Accidental Slippage
Because glass has a very smooth surface, clamp-on keyboard trays can slowly slide out of position over time, especially during intense typing sessions. To prevent this, place a thin sheet of non-slip silicone mesh or drawer liner between the glass and the rubber clamp pads.
The silicone provides extra friction, locking the clamps in place and absorbing the vibrations of your typing, which protects both the glass and your wrist joints. Never lean your full body weight on the keyboard tray, as the leverage force can crack the glass edge.