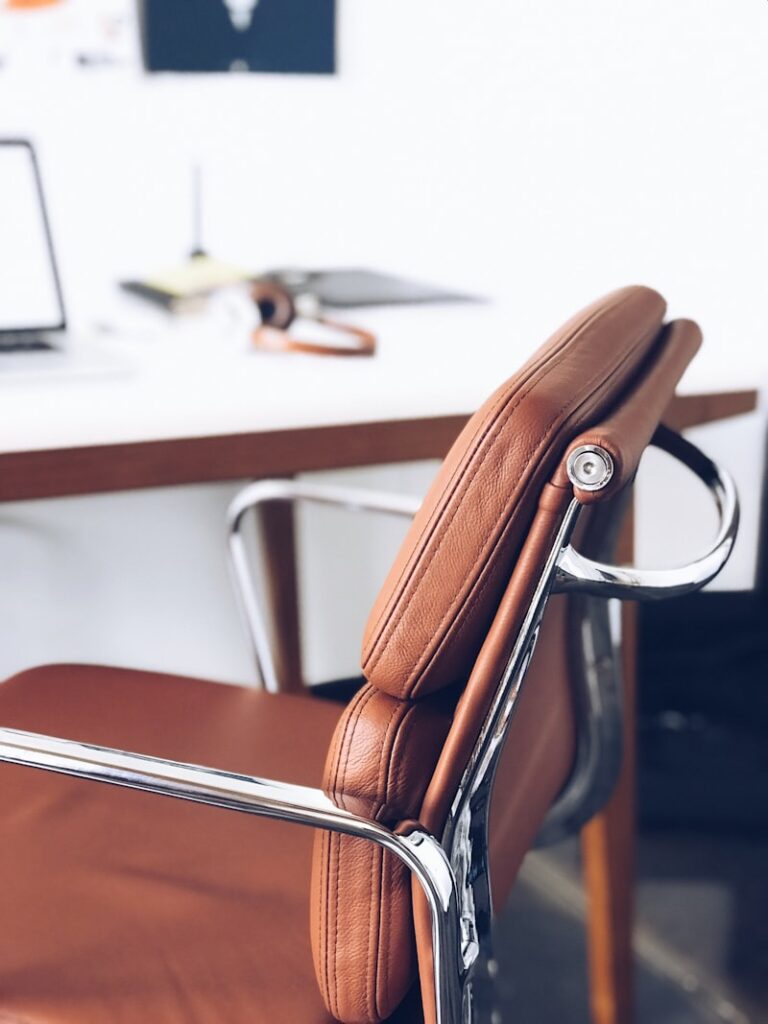

If you spend your day working from home, you likely know the feeling of lower back fatigue all too well. Most standard, budget-friendly office chairs are built with flat or poorly contoured backrests that do not support the natural inward curve of your lower spine (the lumbar region). Over a long workday, this lack of support causes your back muscles to overwork, leading to chronic slouching and muscle strain. Fortunately, learning how to add lumbar support to office chair setups is an easy, highly cost-effective way to protect your spine and restore physical comfort.

The human spine has a natural forward curve at the lower back. When you sit without support, your pelvis naturally tilts backward, flattening this curve and putting immense pressure on your lumbar discs. Ergonomic studies show that supporting this curve dramatically reduces muscle fatigue and spinal load. Let’s look at the 5 easiest and most effective ways to modify your chair and upgrade your home office setup.
Step 1: The Rolled Towel Method (Free DIY Hack)
If you need an immediate fix, the rolled towel method is completely free and takes two minutes. Take a clean, medium-sized bath towel and roll it tightly into a cylinder (about 3 to 4 inches in diameter). Secure the roll with rubber bands or tape so it holds its shape. Place the towel horizontally against the backrest of your chair, positioning it exactly at the level of your lower back (right above your beltline) before sitting down.
Step 2: Position the Support Correctly
A common mistake when using any lumbar support is placing it too low. If the support rests against your tailbone or your upper back, it will push your pelvis forward and actively worsen your posture. The curve of the support must align precisely with the inward arch of your lower spine. Adjust the height of your towel or cushion until it supports your spine comfortably without pushing your body forward or forcing you to slouch.
Step 3: Secure the Support to Prevent Slipping
A DIY towel roll will naturally slide down every time you stand up, which is highly annoying. To secure it, slip a large rubber band, a bungee cord, or a luggage strap around the backrest of your chair to hold the towel firmly in place. This ensures the support remains exactly where your spine needs it, saving you from having to adjust it throughout the day.
Step 4: Upgrade to a Dedicated Memory Foam Cushion
If you want a more permanent and comfortable solution, invest in an inexpensive external memory foam lumbar support cushion. These cushions are designed to mimic the contours of your spine, providing firm, ergonomic support. Look for a model that includes adjustable straps so you can secure it firmly to the backrest of your office chair.
Step 5: Adjust Your Seat Depth and Recline
Once your lumbar support is in place, you may need to adjust your overall chair settings. The addition of a cushion will push your body forward by 1 to 2 inches. If your chair has seat depth adjustment, slide the seat pan backward to ensure your thighs are still fully supported. Recline the backrest slightly (between 100 and 110 degrees) to distribute your upper body weight between the backrest and your seat pan, further reducing pressure on your spine.
Final Thoughts
You don’t need to replace your entire chair to get lower back relief. By learning how to add lumbar support to office chair setups with a simple towel roll or a cheap foam cushion, you can protect your spine and work comfortably for hours.